I am making good progress with the center section of my CAQ.. By the middle of next week I should be able to start the last two corners. Unless of course life or a little thing like school vacation comes along!!! 


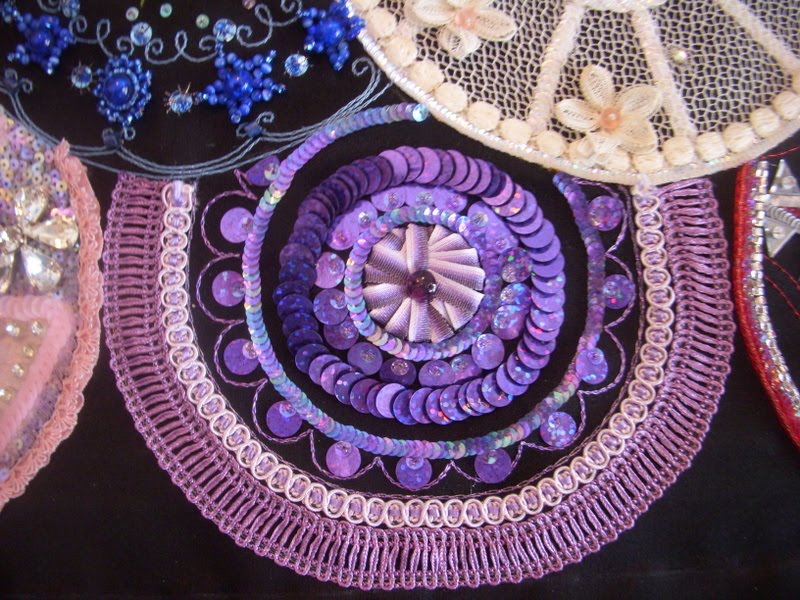
 I still have the side circles to finish and the 4 small flowers that hopefully tie this thing together. Of course the big big big deal for me will be assembling ... I do it in my dreams!!


 I still have the side circles to finish and the 4 small flowers that hopefully tie this thing together. Of course the big big big deal for me will be assembling ... I do it in my dreams!!